Go back
$29
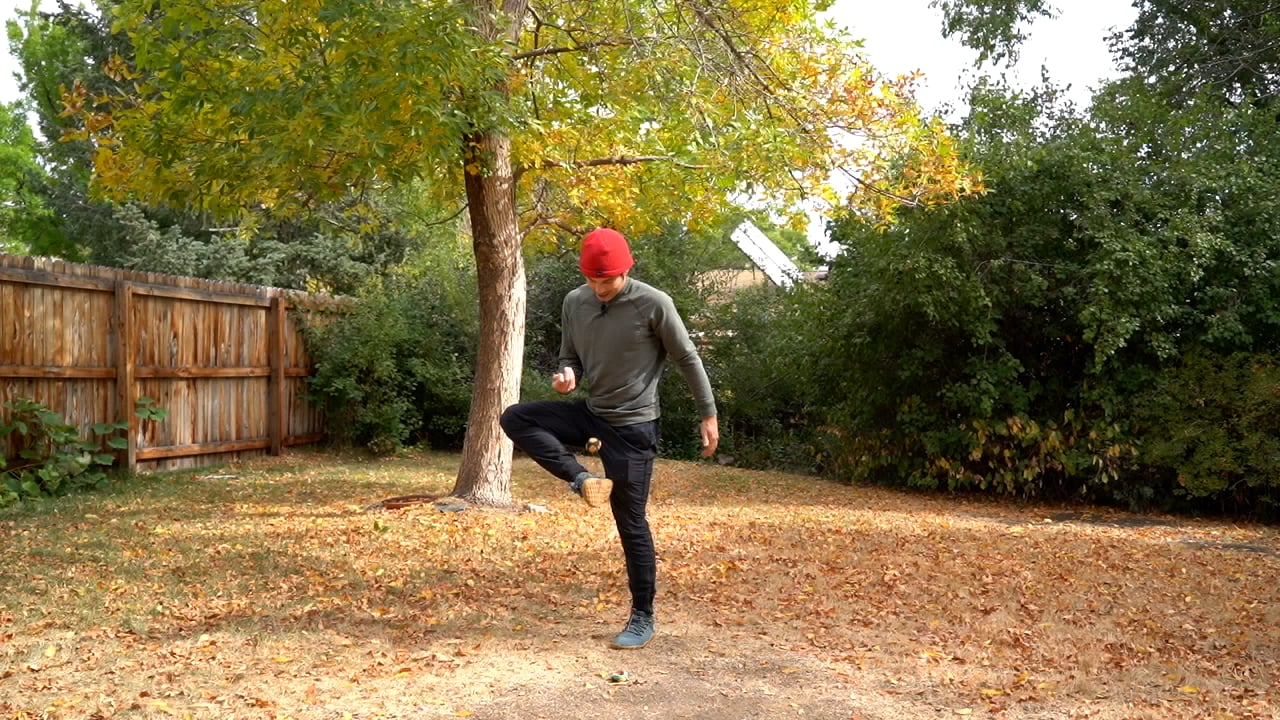
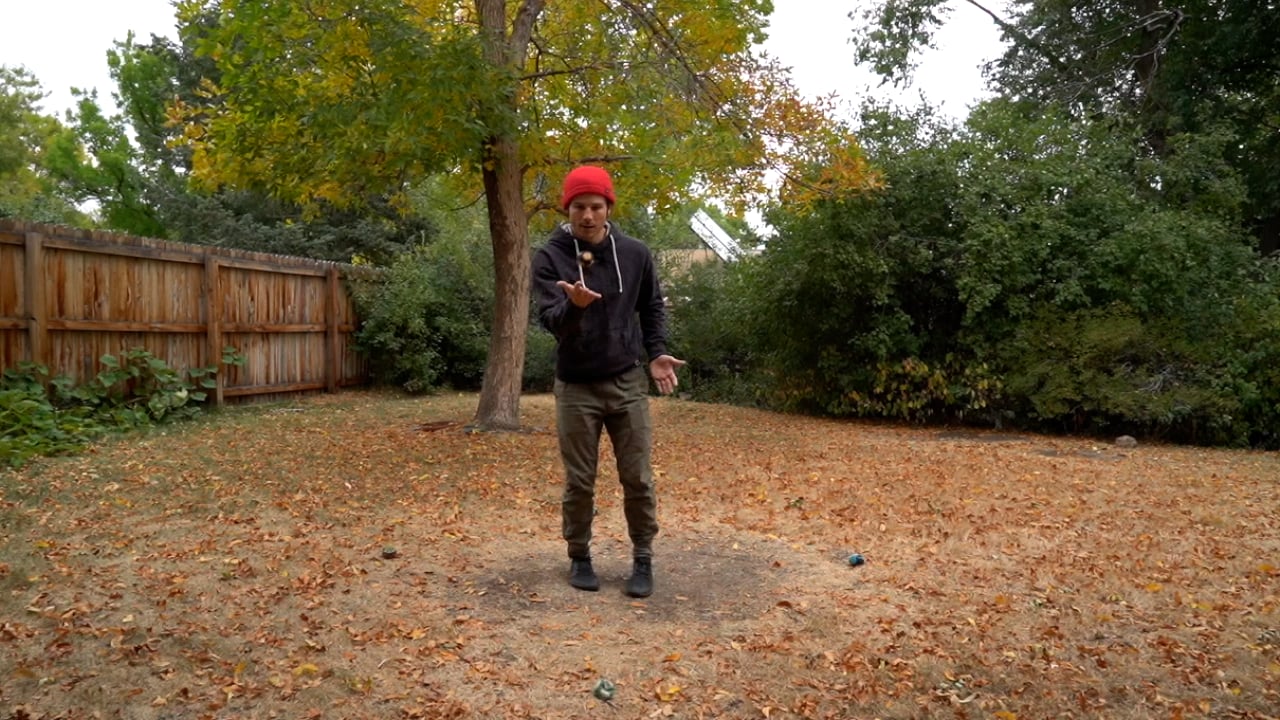
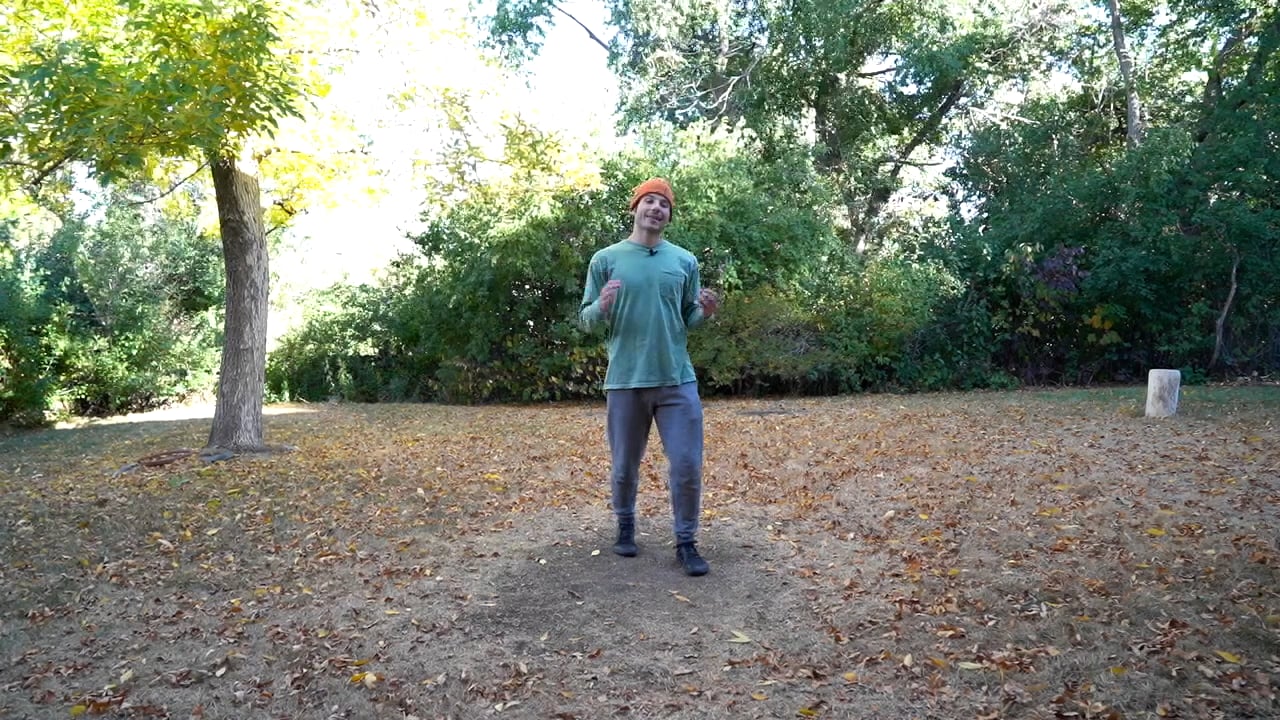
Footbag for Life
This program guides you through the essential kicks, stalls and combos for footbag (Hacky Sack) so you can play and improve everyday!
Footbag for Life also includes foundational exercises to support... Read More

Footbag for Life
35 On-Demand Videos
Footbag for Life
On-Demand
1
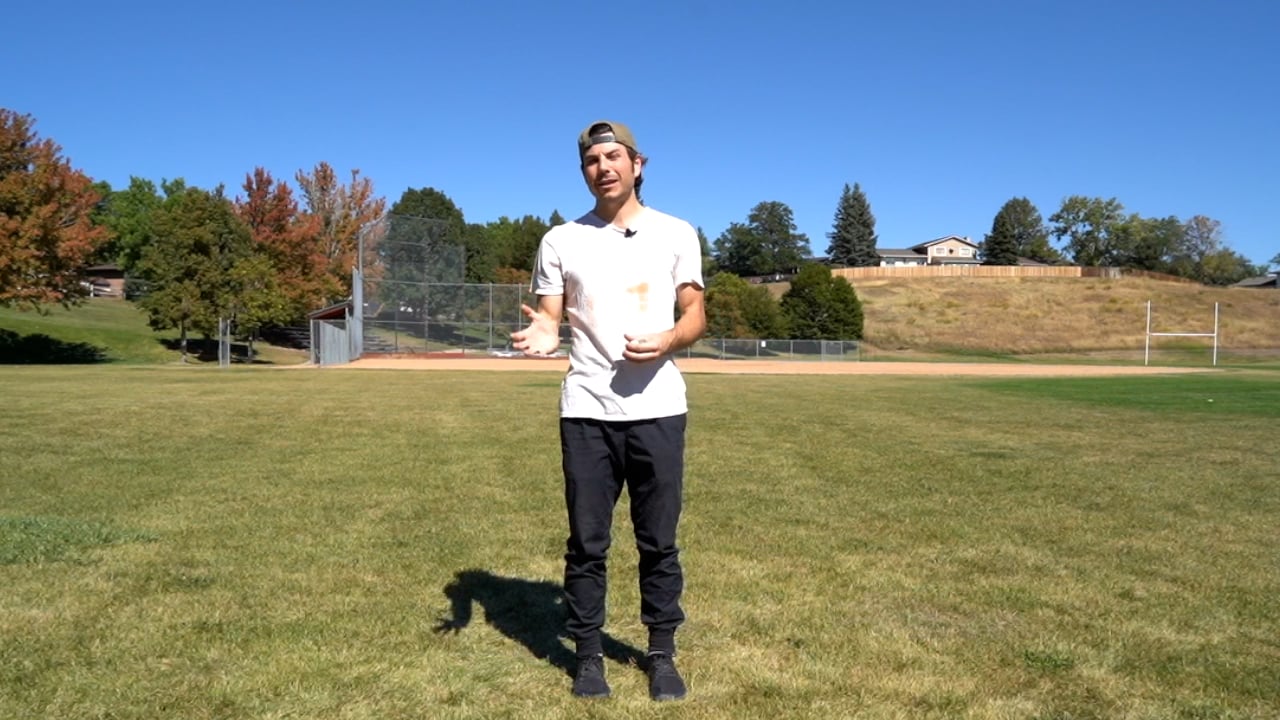
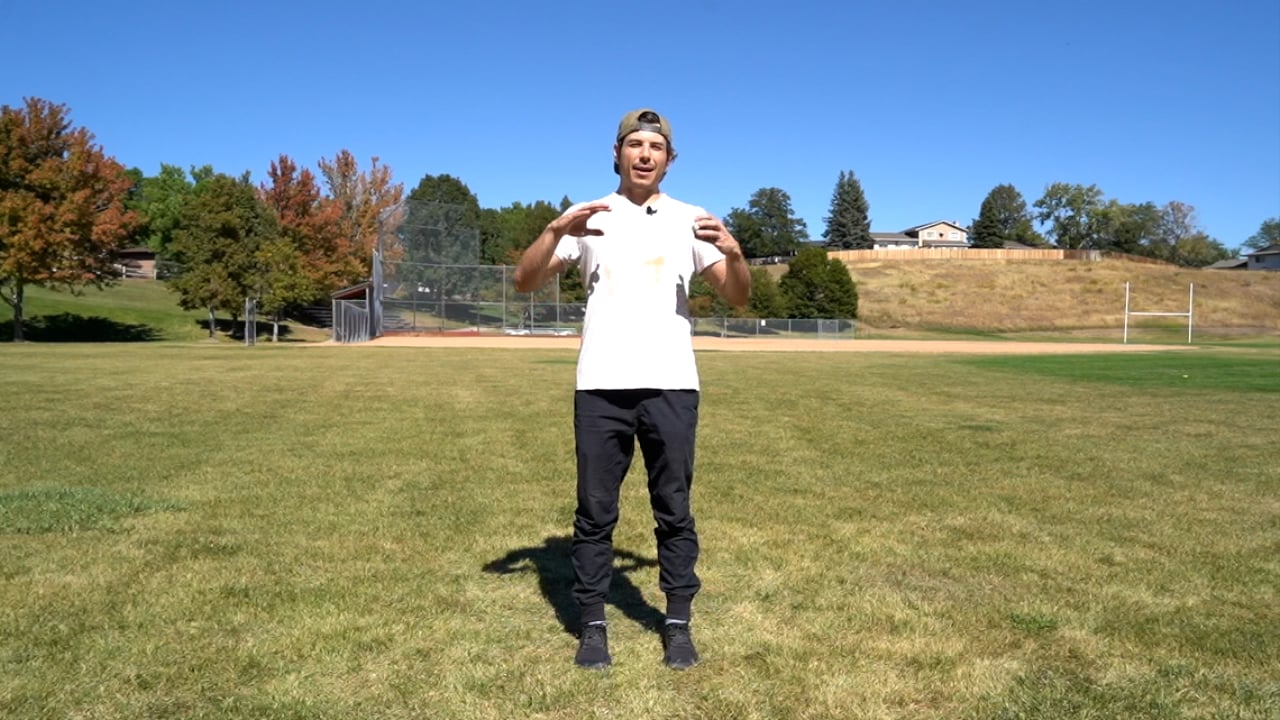
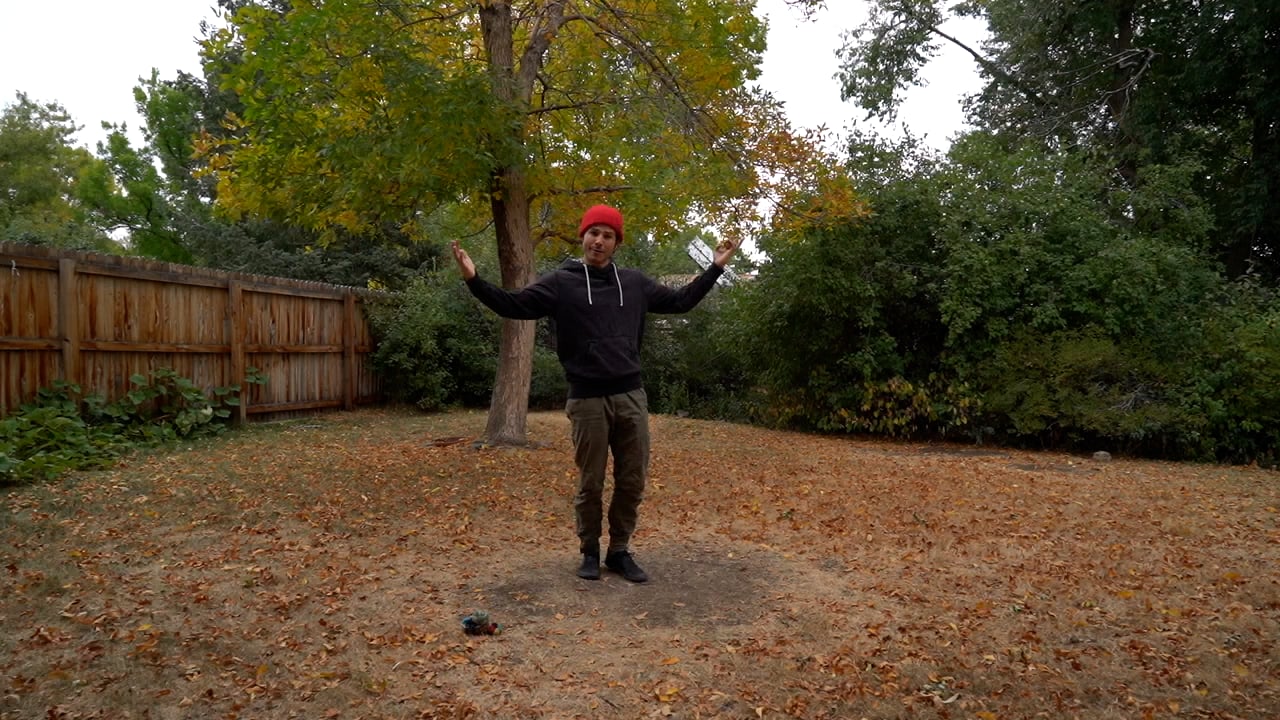
Welcome to Footbag for Life
Intro to Footbag - My Footbag Story
On-Demand
Start things off with the video above. In this video, you'll get to know me, my footbag journey, the history of the footbag, and all the powerful benefits to kicking the bag around on a daily basis.
After the video, move on to the next lesson!
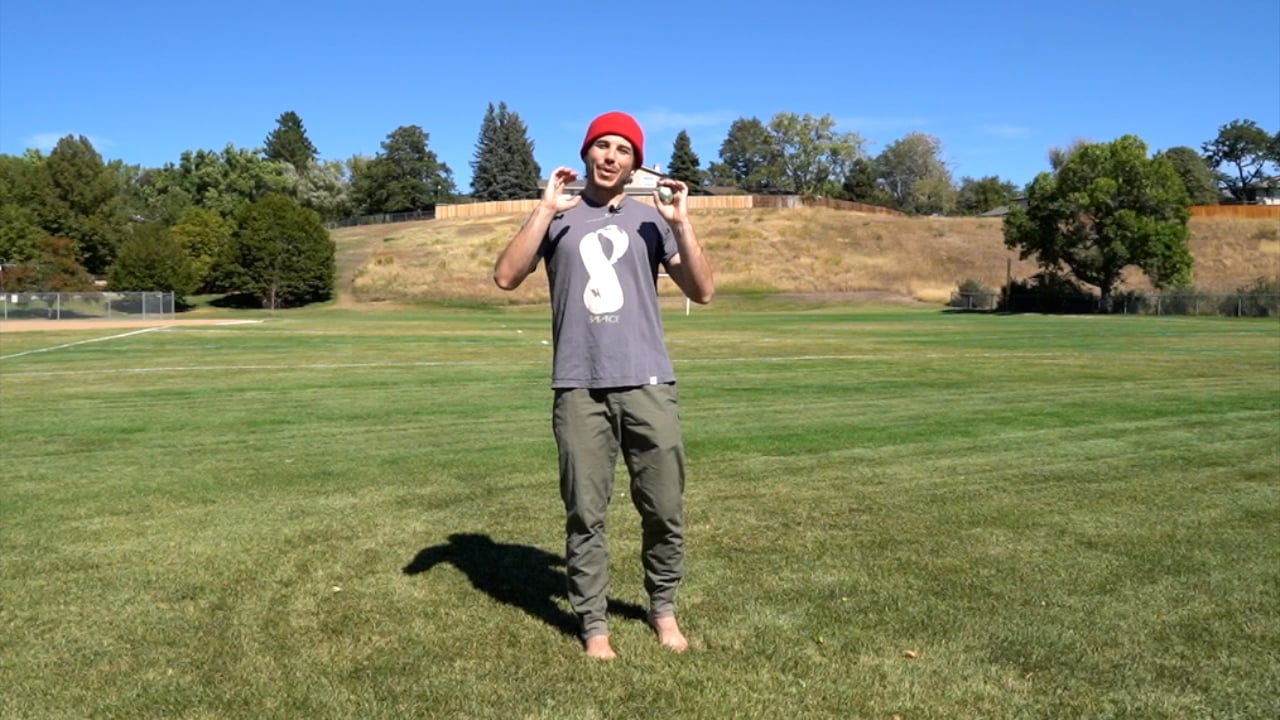
Intro to Footbag - Footbag Equipment
On-Demand
In this lesson, I take you through two simple questions you may be asking yourself:
1. What footbag should I get?
2. What is the best footwear for footbag?
I've provided recommended equipment below!
My footbag choice for beginners - 14 Panel 60 Gram Sandbag
Footwear Recommendation - The shoes that you wear most often! And take those shoes off sometimes.
Barefoot Style Shoes - VivoBarefoot
Footbagger's Choice - Puma Suede Classic
Footbagger's Choice - Adidas Rod Laver Shoe
Now that you've got your equipment squared away, you're ready to kick it on to the next lesson!
Intro to Footbag - Program Intentions
Before you jump into the program, I want to lay out some overarching intentions for you as you progress through your footbag journey.
This will support you in embracing the process with a beginner's mindset. Feel free to use these intentions for other endeavors that you embark upon in the future!
- Move Everyday - Whether it be a walk, a footbag session, or a workout, I encourage you to embrace movement on a DAILY basis.
- Challenge Yourself with the Essentials - Keep it simple! In this program, you will challenge yourself through these movement essentials.
-- Breath
-- Vision
-- Balance
-- Coordination
-- Joint mobility and stability
-- Rhythm, Bounce and Shake
- Improve Physical and Mental Health - Those essentials listed above challenge both your body and your brain. As you progress in footbag, you will experience physical improvement, cognitive engagement, and overall mental well-being. Here's how to view the practice to support this intention.
-- The brain’s main function is to move.
-- A new movement “problem” every time (physical and mental problem solving in one)
-- Build a healthy relationship with both success and failure.
-- Increase in stimulus and stress results in increased resilience and vitality both physically and mentally.
- Enjoy Yourself - Footbag is fun! Embrace the ongoing growth process with this fun and powerful tool.
-- Play and connect with the practice
-- Play and connect with yourself
-- Play and connect with your community
-- Play and connect with LIFE!
Now that the intention has been set, let's get into to the footbaggin'! Move onto the next section - Getting Started with Footbag
2
Getting Started with the Footbag
Movement Prep - Footbag Warm Up #1
On-Demand
Get yourself dialed in and ready for play with this footbag-specific warmup sequence!
Footbag Posture Check In
Marching w/ knee tap
Marching Arm swing
Marching internal Rotation
Marching External Rotation
Sliding Skier
Chi Bounce
Neck Circles
Ankle Circles
Knee Circles
Skier to Squinge to Squat
Lunge Stretch
Lateral Lunge sequence
Eye Tracking - Hand Taps
Chi Bounce
Movement Prep - How To Play Footbag - Freestyle
On-Demand
In this lesson, you'll learn the simplest and most expansive form of footbag play - Solo Freestyle.
The objective of freestyle is to keep the footbag off of the ground using your feet, legs and body. No hands and no arms are allowed.
Of course, if you want to incorporate the hands or arms to keep your personal rally going, go for it!
Homework: Set a baseline for your footbag capabilities with 5 minutes of footbag freestyle by yourself. I imagine this will challenge you. It is supposed to!
I invite you to record a video of yourself playing with the footbag at this moment. Once you develop more skills with the footbag, it will be fun to go back and see where you started on this journey!
Movement Prep - Footbag Hand Taps
On-Demand
The beginning stages of footbag can involve a lot of fatigue and a good amount of failure. In this lesson, I share my favorite drill to throw into the mix when you want to switch things up. This one is a game changer when you get tired and still want to keep playing with the footbag. This allows you to work on your coordination, spatial awareness, vision and patterning.
Improved hand-eye coordination will indirectly carry over to better foot-eye coordination. Give this a go and get creative!
Practice:
Practice some solo freestyle for a few minutes.
Insert in the hand taps drill for 2-5 minutes. Use the different variations laid out in the video.
- Alternating Hand Taps
- Skier Position Hand Taps
- Squat Hand Taps
- Lunge Hand Taps
- Pattern Hand Taps (2 with the left, 2 with the right / Paradiddle)
- Traveling Hand Taps
- Freestyle Hand Taps
Lastly, go back to your footbag freestyle and see if you notice any improvement in coordination.
A big part of playing with the footbag is being creative so have some fun creating your own practice with some of these moves to keep you moving and to keep things balanced and fresh.
Movement Prep - Spine And Pelvic Mobility - Footbag
On-Demand
To kick things off with the mobility work for footbag, here are a few of my favorite exercises that will support you in building connection and awareness through the lumbar spine (lower back) and pelvis. Here's the list:
- Prone Tummy Vaccuum - 5-15 breaths (Progression is to hold on exhale)
- Lumbar Spine Articulations - 10-20 reps (Take it slow, and keep it in your ACTIVE range)
- Breathing Cat Cow - 10-20 reps
- Cat Cow Jump Rope - 10 reps in each direction
3
The Kicks Vol. 1
Vol. 1 Practice Session - Footbag Warm Up #1
On-Demand
Get yourself dialed in and ready for play with this footbag-specific warmup sequence!
Footbag Posture Check In
Marching w/ knee tap
Marching Arm swing
Marching internal Rotation
Marching External Rotation
Sliding Skier
Chi Bounce
Neck Circles
Ankle Circles
Knee Circles
Skier to Squinge to Squat
Lunge Stretch
Lateral Lunge sequence
Eye Tracking - Hand Taps
Chi Bounce

Vol. 1 Practice Session - Knee Kick - Footbag
On-Demand
The Knee Kick! I love this move because its a great starting point AND it shows up a ton when you are playing. Get this one down and it will connect the dots as you progress into combos and freestyle.
A few tips:
- Slight hinge at the hips (karate chop)
- Drive the knee up to meet the footbag, experiment with how much effort you need to apply
- Be patient
- Use the catch once you start to add a kick and alternate sides
Practice: Work your way up to three alternating knee kicks from both sides
Once you get the feel for the knee kick, move on to the next lesson!
Vol. 1 Practice Session - Knee Drive Toe Kick - Footbag
On-Demand
The knee drive toe kick involves essentially the same movement as the knee kick. Now, you are going to bring the knee up and kick the footbag with your toe. This kick allows you to allow the footbag to get closer to the ground and further away from your body, expanding your kick and movement possibilities.
A Few Tips:
- Slight hinge at the hips (karate chop)
- Drive the knee up and keep your ankle flexed toward your shin (dorsiflexion)
- Be patient and allow the footbag to get a little lower
- If you have trouble tracking the footbag down to the ground, hinge the hips a bit more rather than rounding your back
Practice: Work your way up to three alternating toe kicks from both sides
Once you get the feel for the knee drive toe kick, move on to the next lesson!
Vol. 1 Practice Session - Toe Kick - Footbag
On-Demand
The toe kick is an essential kick for footbag play, especially when the footbag drifts further away from the body. Because the kick is a further distance and the kicking leg begins to fully extend, this can be a challenging movement to coordinate.
Here are a few tips to dial in the toe kick:
- Create a stable base by driving through the stabilized foot and up through the leg
- Allow the bag to fall further down and track it all the way into contact with the foot (You have more time than you think)
- Flex your foot/ankle up (Dorsiflexion) to connect with the footbag. Over time you will get a feel for how much effort you need here (all you need is a little bit of pop through the foot)
- Use the catch to get more quality reps in during practice
Practice: Work your way up to three alternating toe kicks from both sides
Once you get the feel for the toe kick, move on to the next lesson!
Vol. 1 Practice Session - Footbag Practice #1
On-Demand
Time for you to weave everything you have learned so far into a full practice!
Here's the outline I lay out for you in the video:
Warm Up for 15-20 minutes (I recommend the full body warmup for footbag)
Practice the three kicks individually - Kick and Catch
- Knee Kick (3-5 Minutes)
- Knee Drive Toe Kick (3-5 Minutes)
- Toe Kick (3-5 Minutes)
Freestyle using the three kicks AND embrace any other kicks or moves that come to you naturally in the freestyle. Freestyle for at least 5 minutes and I invite you to play longer!
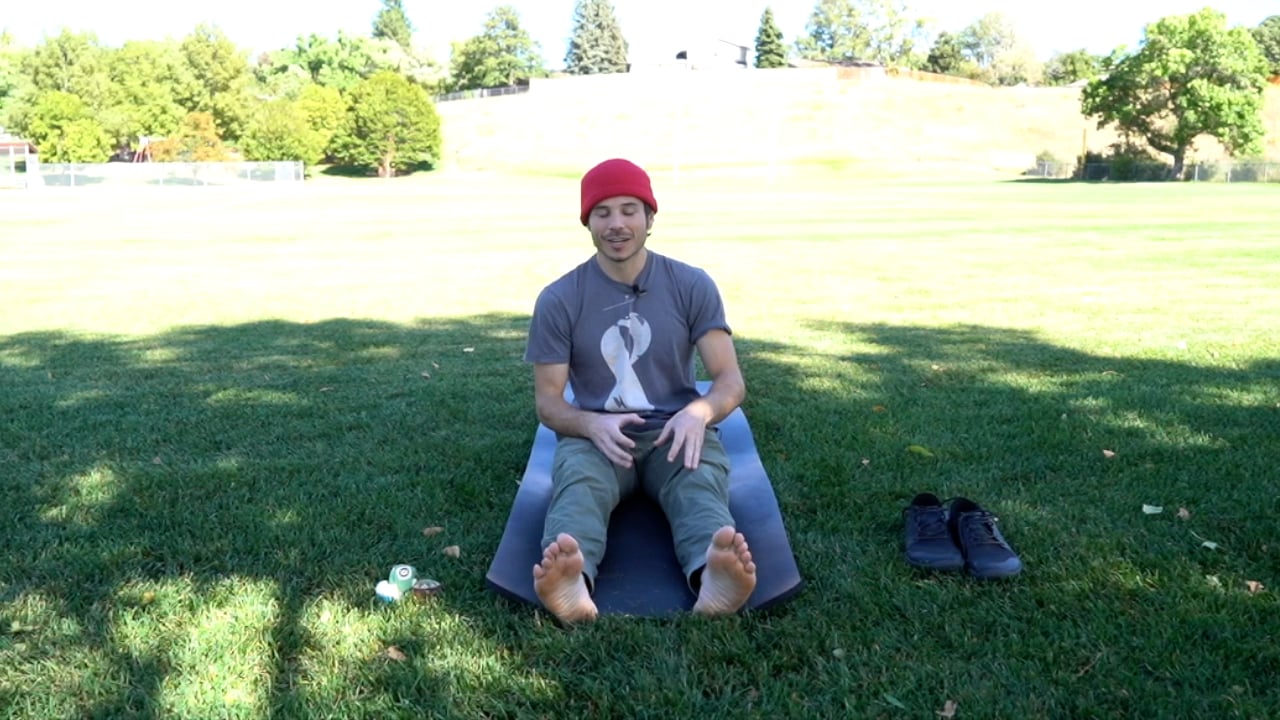
Vol. 1 Practice Session - Foot And Ankle Mobility - Footbag
On-Demand
Ankle and foot mobility is key for footbag play. It's important to prioritize this area of the body for improved connection to movement in that area AND building up the endurance so one can support themselves during their practice.
Here's the mobility sequence:
- Foot Massage and Squeeze (2-5 minutes)
- Seated Ankle Flexion (1-2 minutes)
- Seated Monkey Feet (1-2 minutes)
- Seated Ankle Circles (1-2 minutes)
- Quadruped Rocking (2 minutes)
4
The Kicks Vol.2
Vol.2 Practice Session - Footbag Warm Up #1
On-Demand
Vol.2 Practice Session - Inside Kick
On-Demand

Vol.2 Practice Session - Outside Kick
On-Demand
Now onto the outside kick! This is going to require the internal rotation of the kicking leg. The purpose of this kick is to be able to bring the bag back to your body when it travels to the left or right of the body.
The internal rotation can be challenging and more limited for some of you out there so be patient and allow the footbag to come down so you don't have to use as much range of motion. I encourage you to spend some time going through the hip mobility exercises at the end of this section.
Here are a few tips to dial in the outside kick:
- Create a stable base by driving through the stabilized foot and up through the leg.
- Be patient and allow the footbag to drop past your hip before initiating kick. The closer the bag gets to the ground, the less range and effort you need to kick the footbag up.
- Focus on rotating from the hip and creating a surface area for contact with your foot and ankle.
- Use the catch to get more quality reps in during practice
Practice: Work your way up to three alternating outside kicks from both sides. If this is too challenging, spend some time getting multiple kicks on one side and then switch to the other.
Once you get the feel for the outside kick, move on to the next lesson!
Vol.2 Practice Session - Footbag Practice #2
On-Demand
Weave the 5 kicks you have learned so far into a full practice!
Here's the outline I lay out for you in the video:
- Warm Up for 15-20 minutes (I recommend the full body warmup for footbag)
Practice the three kicks individually - Kick and Catch
- Knee Kick (3-5 Minutes)
- Knee Drive Toe Kick (3-5 Minutes)
- Toe Kick (3-5 Minutes)
- Inside Kick (3-5 Minutes)
- Outside Kick (3-5 Minutes)
Freestyle using the 5 kicks AND embrace any other kicks or moves that come to you naturally in the freestyle. Freestyle for at least 5 minutes and I invite you to play longer!
Vol.2 Practice Session - Hip Mobility For Footbag
On-Demand
Its all in the hips! so much of athletic ability comes from one's connection to the movement of the hips. A big focus area for any movement modality, especially footbag is understanding and connecting to the active range through the hip joints. This is going to translate to better movement awareness, more movement possibility and improved stability.
Here are two mobility exercises that dial in the different positions that you have gone through and will go through in footbag play.
Quadruped Hip Screw Driver - 1-2 minutes (take it slow to feel the hip joints)
Active Pigeon Hip Screw Driver - 1-2 minutes each side (Use tension to connect with active range)
Quadruped Hip Screw Driver - 1-2 minutes (take it slow to feel the hip joints)
5
The Stall
Practice Session #3 - Footbag Warmup #2
On-Demand
Footbag Warmup #2
Footbag Posture Check In
Chi Bounce
Marching w/ knee tap
Marching Arm swing
Marching Paradiddle
Marching Internal Rotation
Marching External Rotation
Neck Circles
Ankle Circles
Knee Circles
Chi Figure 8’s
Skier to Squinge to Squat
Lunge Sequence - Front, Lateral, Back, cross
Knee Kick
Toe Kicks
Inside Kick
Outside Kick
Chi Bounce
Practice Session #3 - Footbag Balance Drills
On-Demand
Since we are learning the stall in this module, here are some useful balance drills that can support you in getting a feel for stalling the footbag AND balance in all of the different positions that will come up.
- Place footbag on mobilized leg, create tension through stabilized leg and play with angles
- Place footbag on mobilized leg and work on flexing through the hip, driving the knee up and down while maintaining the toe stall
- Take the flexed hip into slight internal and external rotation with the footbag remaining on the foot
- Play around with these balance drills for 2-3 minutes on each leg
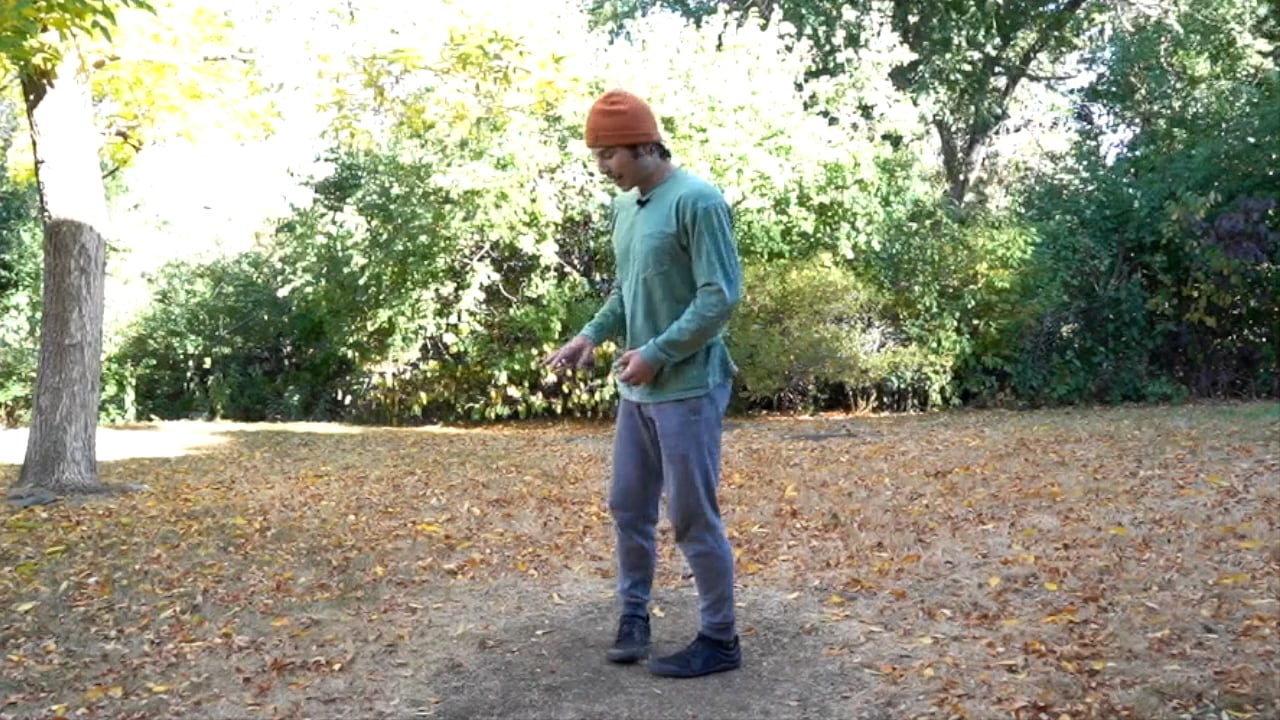
Practice Session #3 - Toe Stall - Footbag
On-Demand
The toe stall is a key skill in footbag play. This move involves stalling or catching the footbag on the toe. The toe stall requires more touch and a feel for how gravity is pulling on the body and footbag.
Once you get this skill down, you'll be able to weave a lot of moves together into a footbag freestyle. It also helps that it looks pretty cool!
Here are some tips to master the toe stall:
- Establish a strong stabilized leg to allow for more ease in hip movement
As the footbag falls past your belly button, get in position by flexing through the hip
- Do you best to match the speed of the footbag dropping with your foot
- Get a feel for it by putting the footbag on your foot and just slightly tossing it up and stalling it with the same foot
- Move on to the toe stall practice once you are feeling confident with the movement!
Practice Session #3 - Footbag Practice #3
On-Demand
Practice Session #3 - Knee Mobility For Footbag
On-Demand
Practice Session #3 - Stall Party Tricks
On-Demand
In this bonus lesson, I provide a few fun stalls that will get you moving, flowing and thinking in creative ways to make this practice more expansive. Have fun with these and make up your own stalls as they come up in your practice. Share your stalls on instagram and tag @footbagman and @grantsthomas!
The Knee Stall - Stall the footbag on your knee
The Parrot Stall - Toss the footbag up and catch the footbag on your shoulder...like a parrot on a pirate's shoulder
The Chest Stall - Catch the footbag on your chest/heart area
The Neck Stall - Catch the footbag on the back of your neck
6
Footbag Feel
Practice Session #4 - Footbag Warmup #2
On-Demand
Footbag Warmup #2
Footbag Posture Check In
Chi Bounce
Marching w/ knee tap
Marching Arm swing
Marching Paradiddle
Marching Internal Rotation
Marching External Rotation
Neck Circles
Ankle Circles
Knee Circles
Chi Figure 8’s
Skier to Squinge to Squat
Lunge Sequence - Front, Lateral, Back, cross
Knee Kick
Toe Kicks
Inside Kick
Outside Kick
Chi Bounce
Practice Session #4 - Barefoot Play - Footbag
On-Demand
Practice Session #4 - Toe Stall Style - Footbag
On-Demand
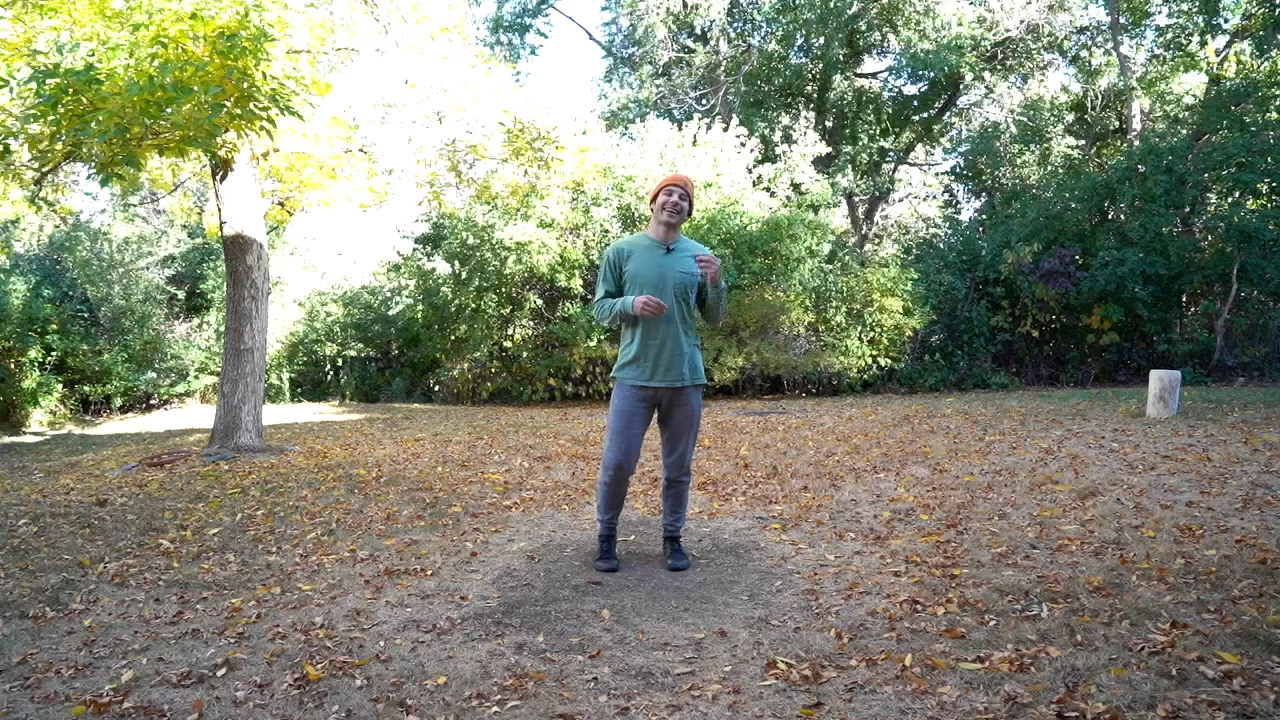
This lesson was inspired by some of the nuance and variation that I saw develop for myself and in other beginner footbaggers when it came to the stall. As I mention in the video, this will naturally start to develop the more and more you play with the footbag.
My goal with this video is to provide the awareness and examples for you so you can start to feel this stuff more quickly in your play. Now go add some style to your toe stalls!
Practice: Focus solely on the toe stall for 5 minutes. See and feel the different angles of the footbag and the toe stall materialize. Do your best to go with the momentum of the footbag to not only catch, but toss the footbag as well.

Practice Session #4 - Inside Foot Stall - Footbag
On-Demand
The inside foot stall is a challenging move that challenges stability, mobility, timing, and dexterity of the foot and ankle. I find this move to be quite hard, especially using low profile shoes or playing barefoot...I love the challenge!
Here are a few tips to dial in the inside foot stall:
Create a stable base by driving through the stabilized foot and up through the leg. If it feels natural you can point the balancing foot inside which can open up more room for rotation of the stalling leg
Be patient and allow the footbag to drop past your belt line before sinking down to soften the contact with the foot
Focus on rotating from the hip and bringing your foot toward your face to create more surface area
Practice: Drop the footbag down the midline of the body, catch the footbag on the inside of the foot, toss the footbag up and catch it before switching sides.
Practice Session #4 - Visual Exercises For Footbag
On-Demand
7
Footbag Combos
Footbag Practice #5 - Footbag Warmup #2
On-Demand
Footbag Practice #5 - The Tony - Footbag
On-Demand
Footbag Practice #5 - The Stalling Tony - Footbag
On-Demand
You may have already got this one down during the toe stall practice. The objective is to alternate between a toe stall and the knee kick.
You could even add a little extra sauce with a knee stall...

Footbag Practice #5 - Doubles - Footbag
On-Demand
Doubles is a great way to play in freestyle with a little structure. Simply kick the footbag twice on one side (any kick) and then twice on the other side.
If you'd like to work on a particular kick, simply focus on using that kick throughout the doubles sequence!
Footbag Practice #5 - Paradiddle - Footbag
On-Demand
By now, if you've followed the program and you've gone through warmup #2, you know the paradiddle. Now, it's time to apply that pattern to kicking the footbag! As displayed in the video, this one can be a doozy on the brain! On the day of filming, my brain could not get this pattern down. But I finally got it!
One kick on the right, one kick on the left, two kicks back on the right....One kick on the left, one kick on the right, two kicks back on the left.
Feel free to do this with any kick, just maintaining the pattern AND level up by restricting yourself to one type of kick.
Footbag Practice #5 - Rainbow - Footbag
On-Demand
The rainbow was mentioned and gone over earlier when you learned the outside kick. Here's a more detailed video on this combo. Have fun with the rainbow!
Footbag Practice #5 - Helicopter - Footbag
On-Demand
The helicopter combo combines three kicks, the outside kick, the toe kick, and the inside kick. This combo is great for balance and control, giving you a great drill to work on to balance out your practice with the left and right feet!
Meet Your Coach

smoov
Get strong and athletic with less stress and more fun!
Who's This For
This program is for people who want to learn how to play footbag / hacky sack as a true beginner.
No experience required!
Equipment
Required
Footbag / Hacky Sack
Features
Chat Your Coach
Web + Mobile Apps
Leave Notes
Integrate Wearables
Get Expert Coaching